安装需求
NTFS格式的磁盘
不能在压缩卷或者只读卷上安装
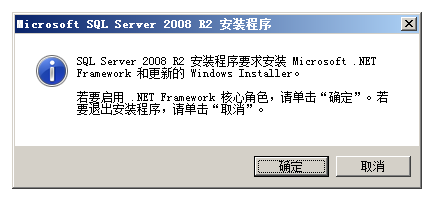
SQL Server 2008 R2还要求你安装微软的.NET Framework 3.5 SP1(如果没安装会自动安装)
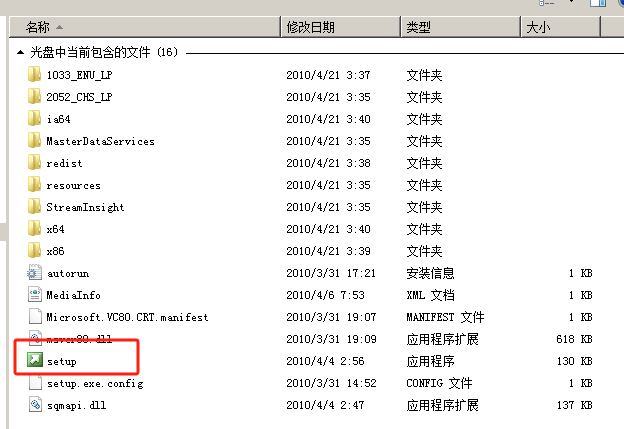
安装程序
运行setup安装程序
配置检查
点击”系统配置检查器”
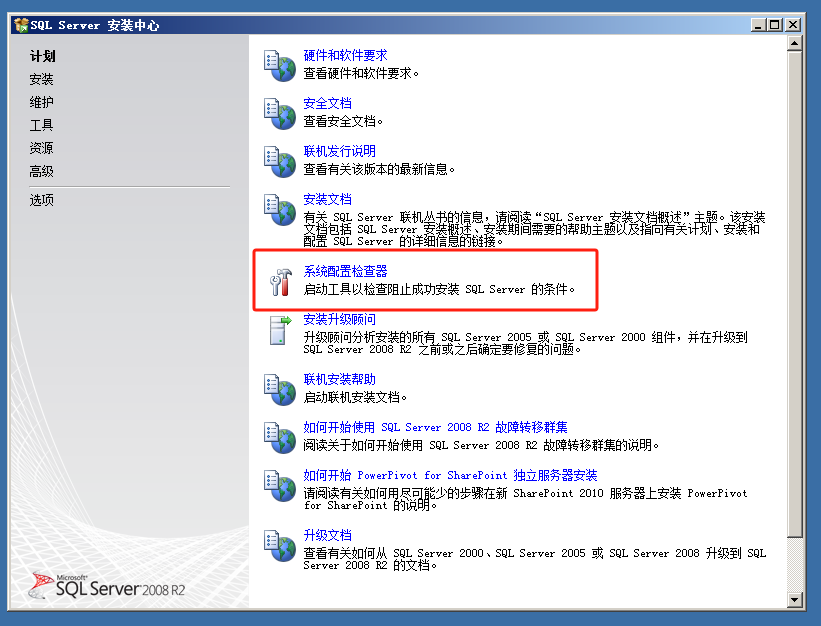
查看是否有失败的,有失败会导致无法安装
安装
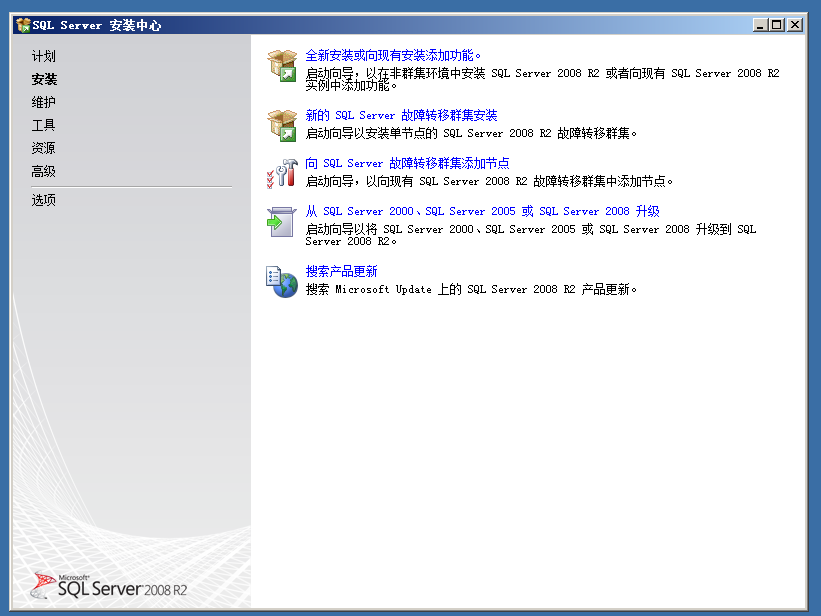
点击SQL server 安装中心左侧菜单栏的”安装”,选择”全新安装或向现有安装添加功能”
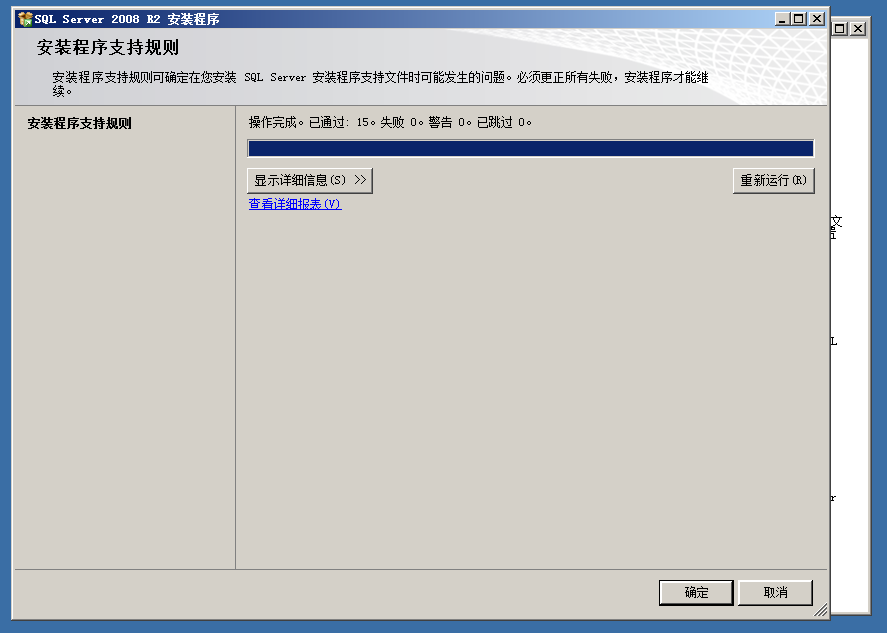
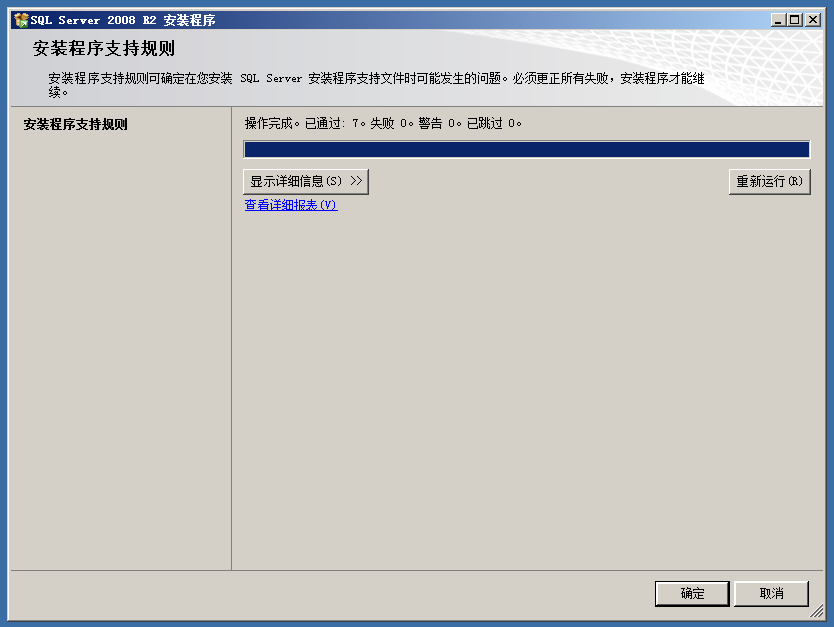
都通过,下一步,如果有失败就点击显示详细信息查看原因
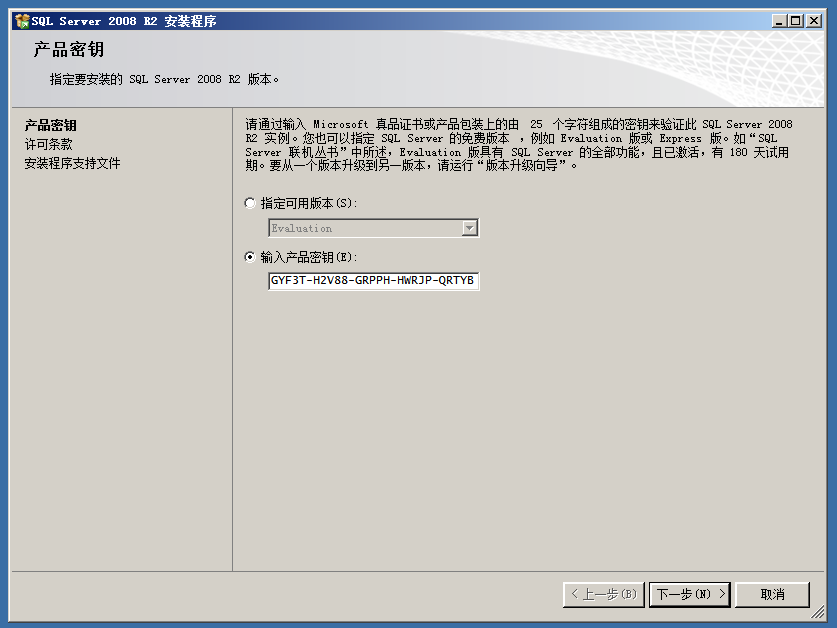
产品秘钥会自动填写,如果没有自动填写请手动填写 GYF3T-H2V88-GRPPH-HWRJP-QRTYB 然后点击下一步
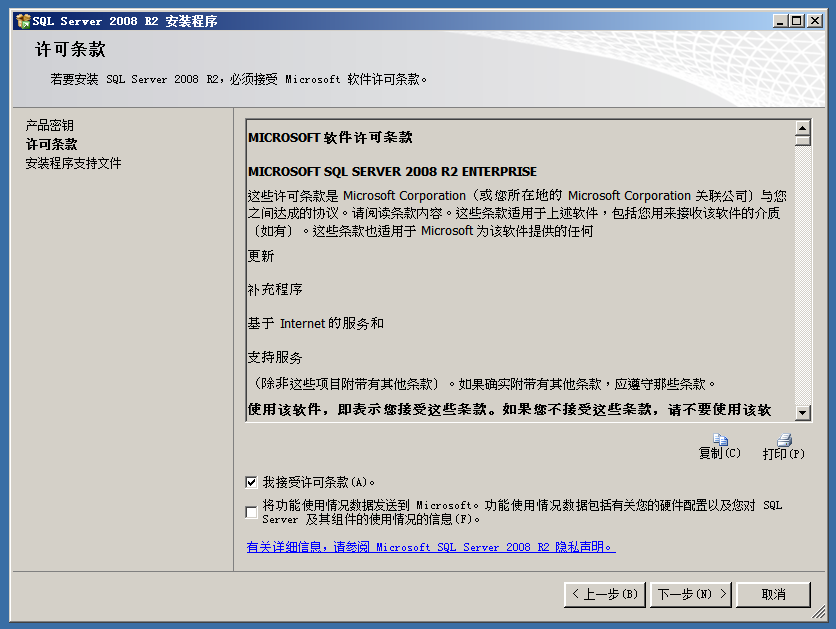
勾选”我接受许可条款”点击下一步
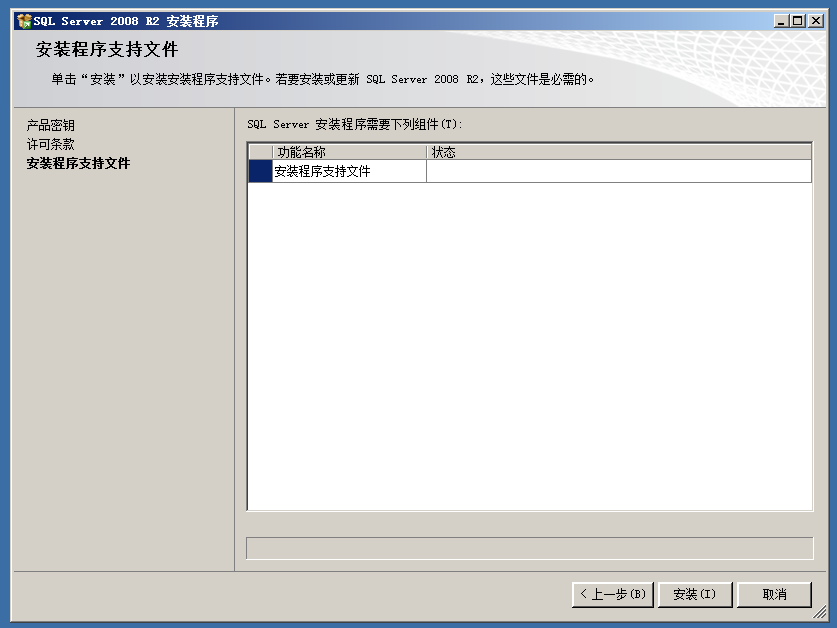
点击安装
查看有没有没通过的地方,没有直接下一步

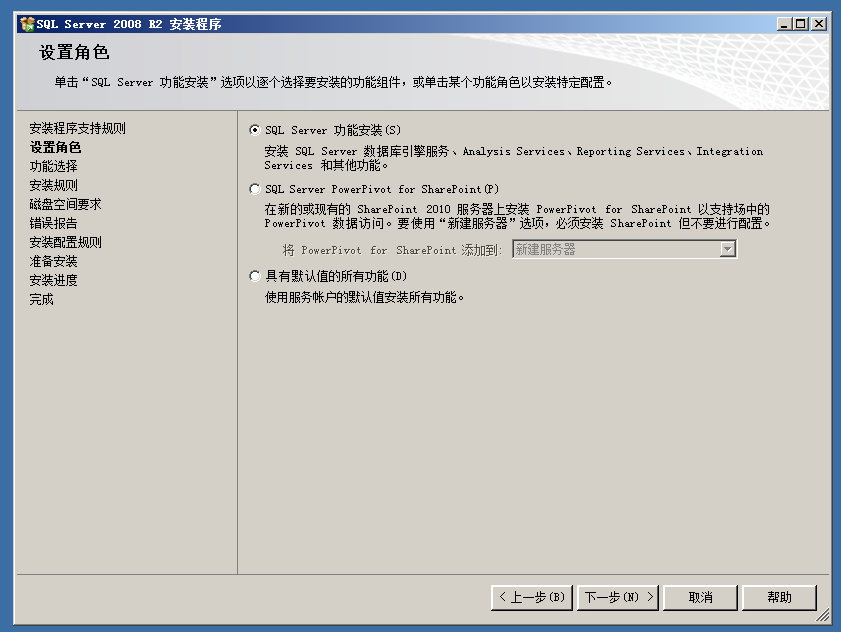
选择”SQL Server功能安装”,下一步
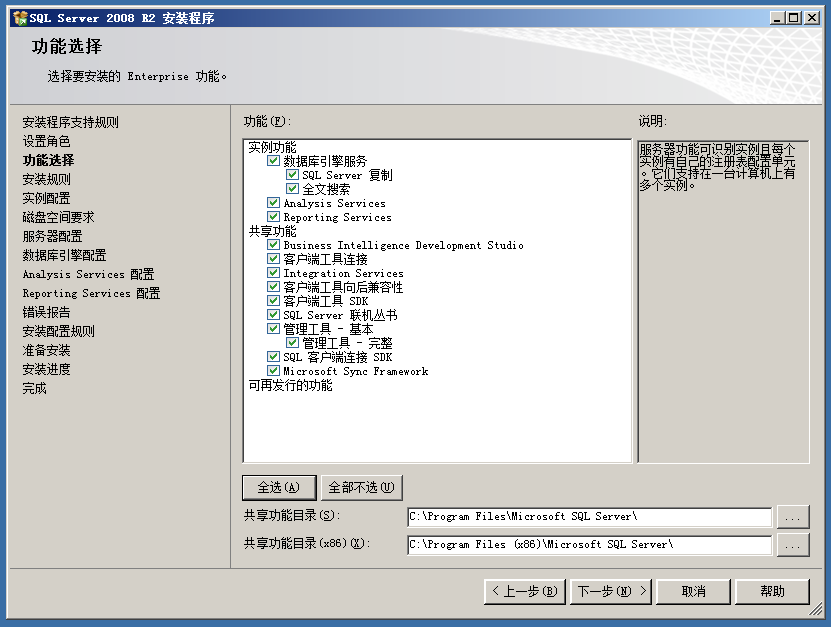
功能全选,下一步
没有失败就下一步,有失败就点击显示详细信息查看是什么原因

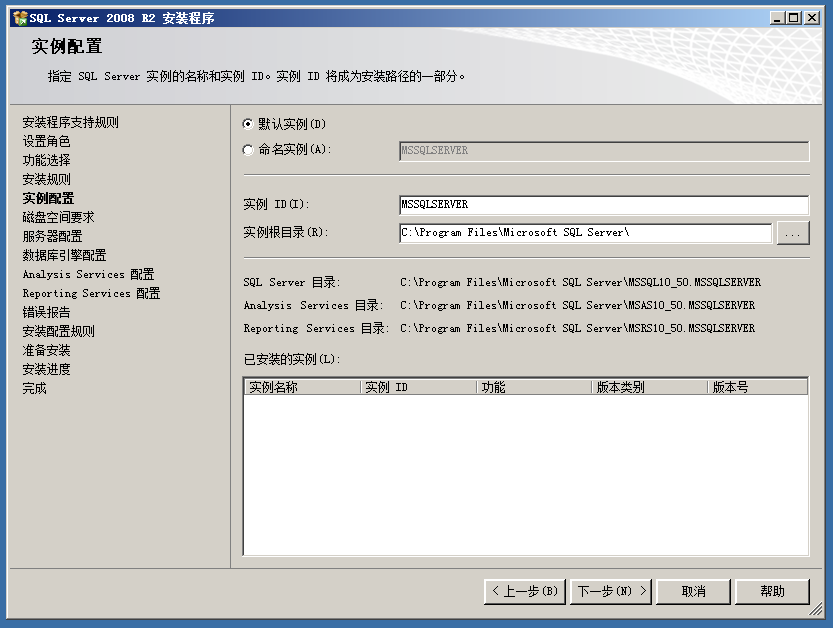
保持默认,下一步
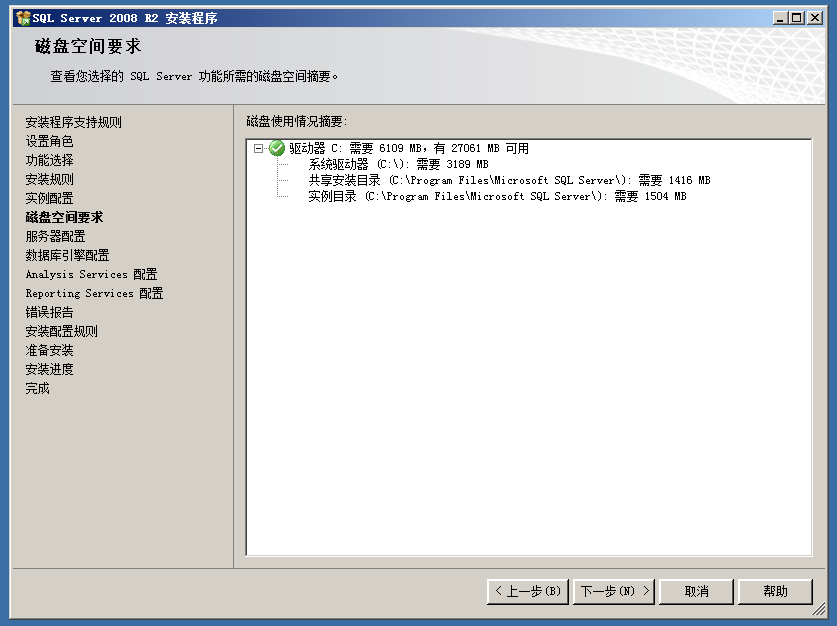
下一步
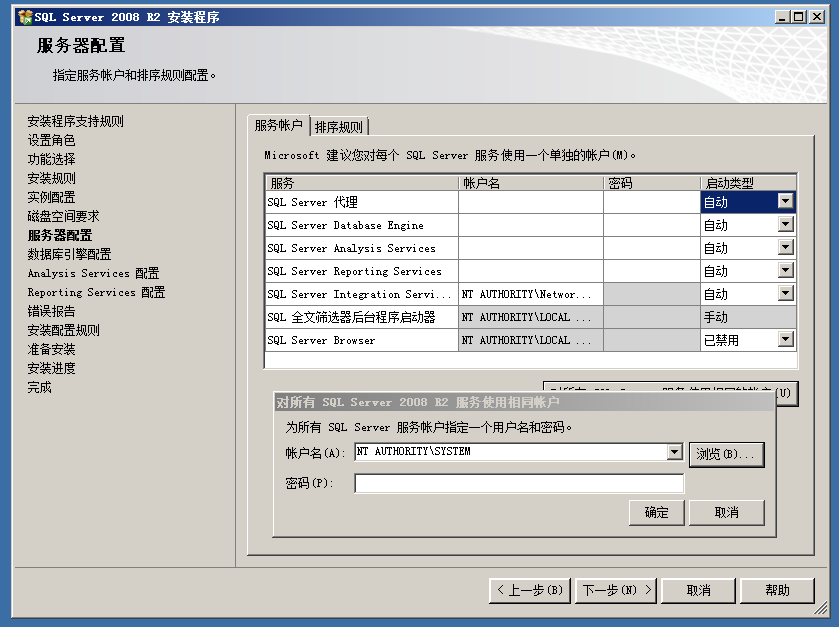
对所有SQL Server 服务使用相同的账户,然后点击小箭头,选择NT AUTHORITY\SYSTEM
启动类型是手动的都改成自动
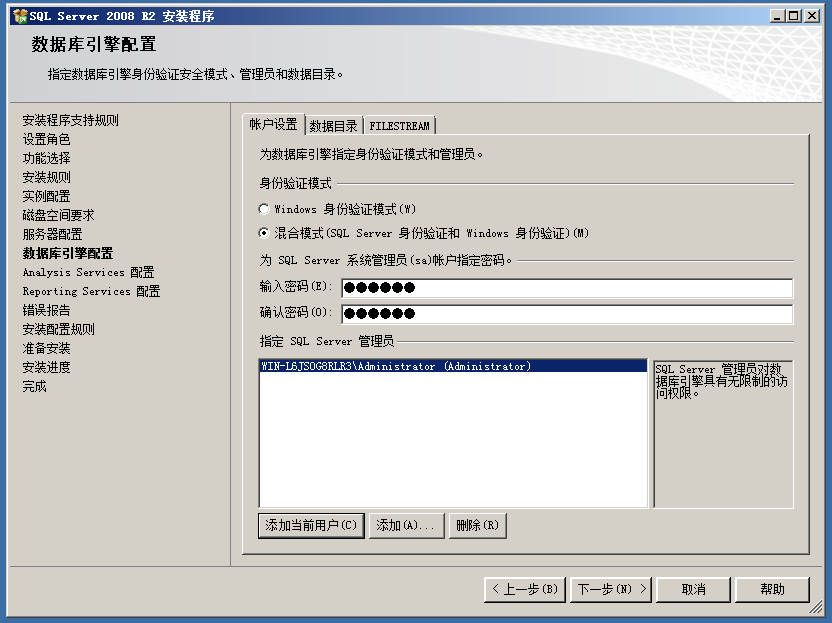
选择混合模式,设置SQL Server系统管理员(sa)账户的密码
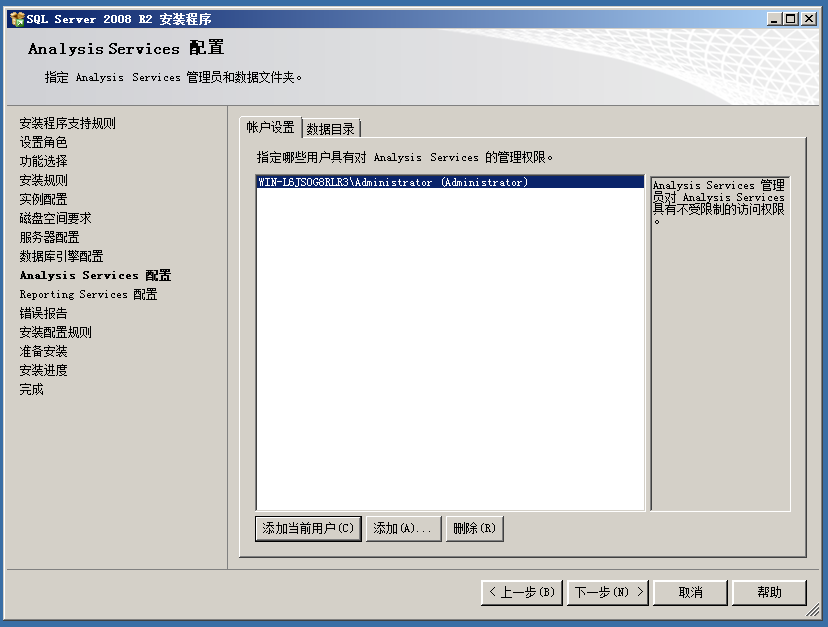
指定SQL Server管理员当中添加当前用户
Analysis Services配置中也添加当前用户
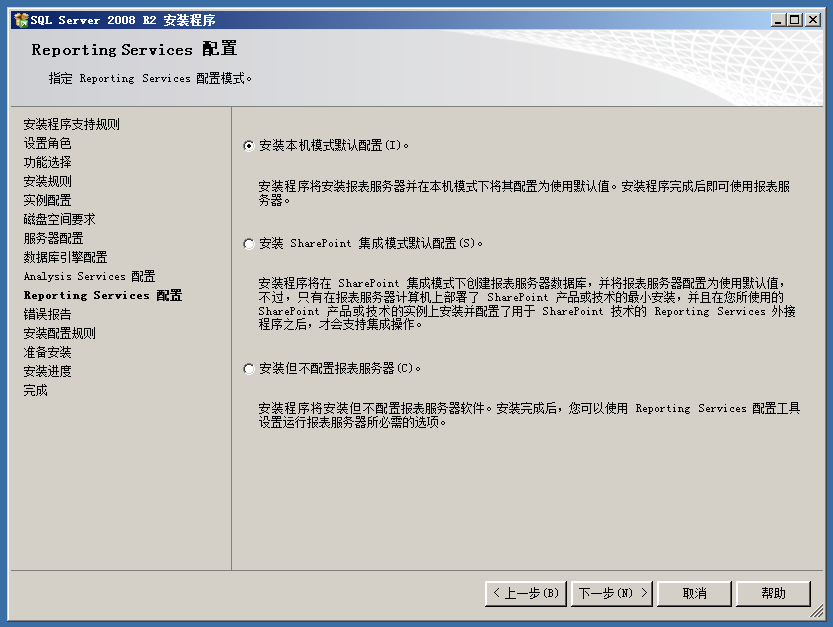
默认即可,下一步
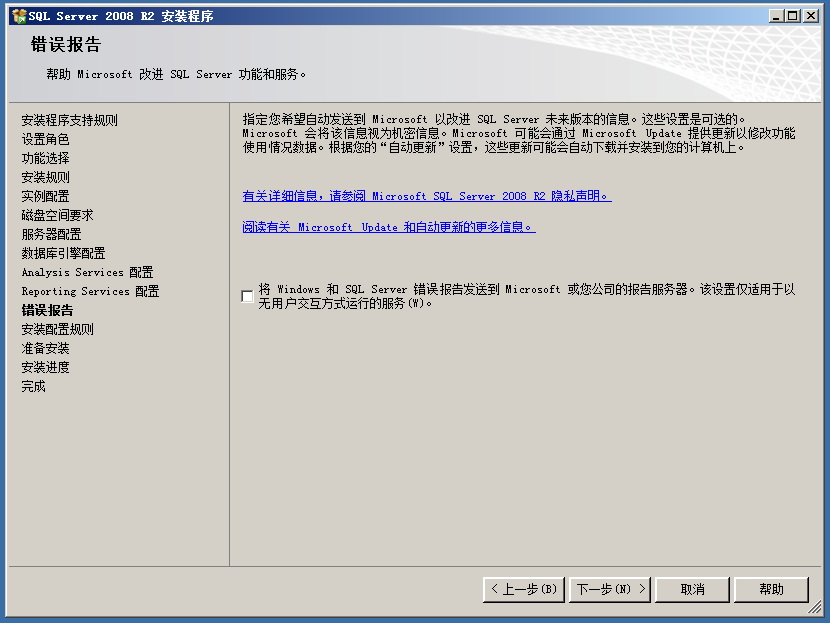
下一步
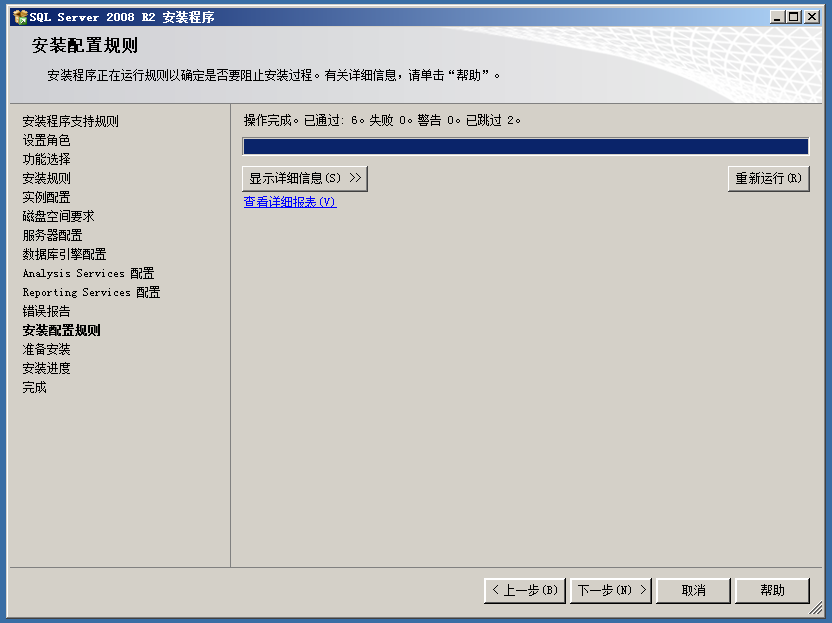
没有失败,下一步,如果有失败展开查看
安装
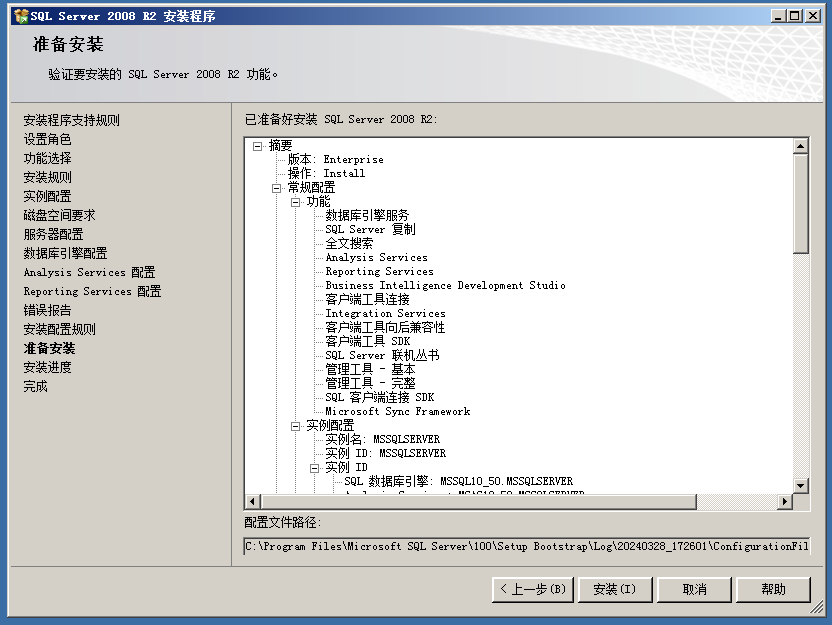
等待安装

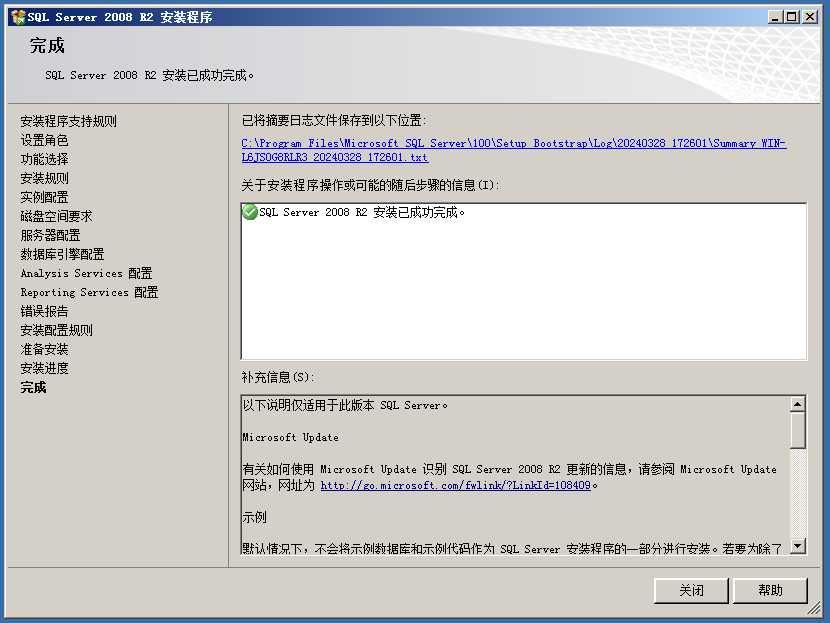
安装完成
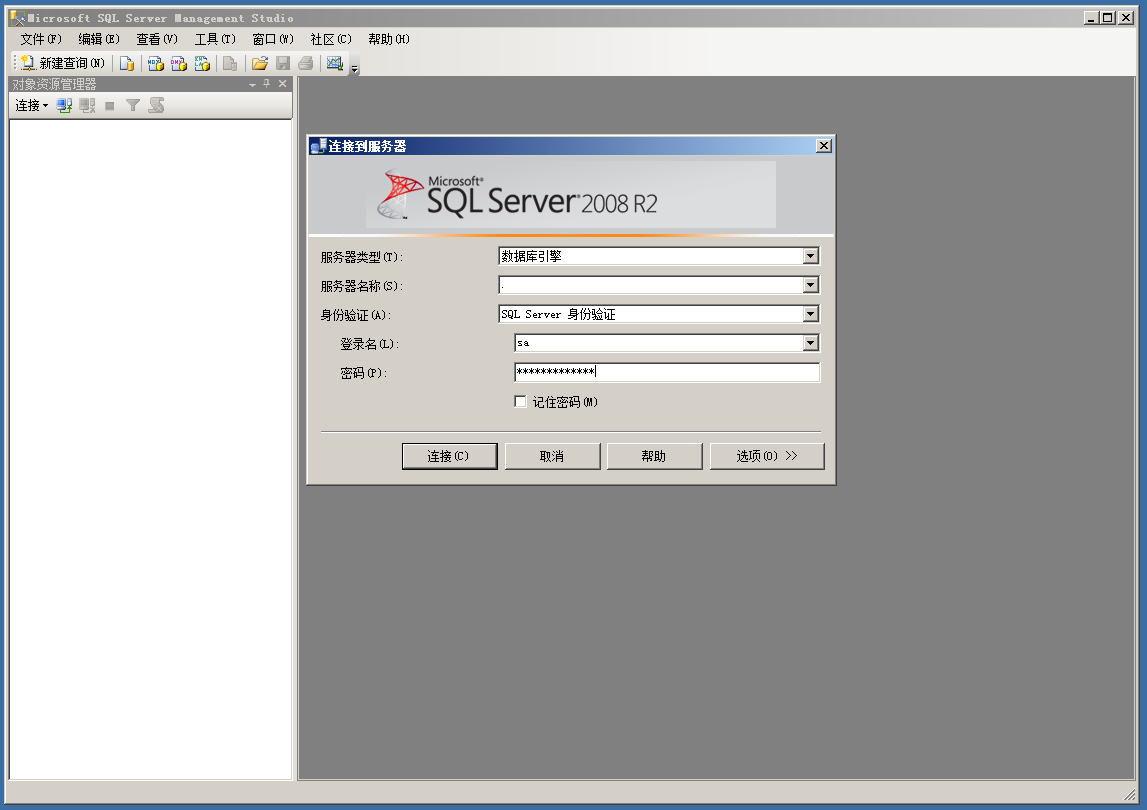
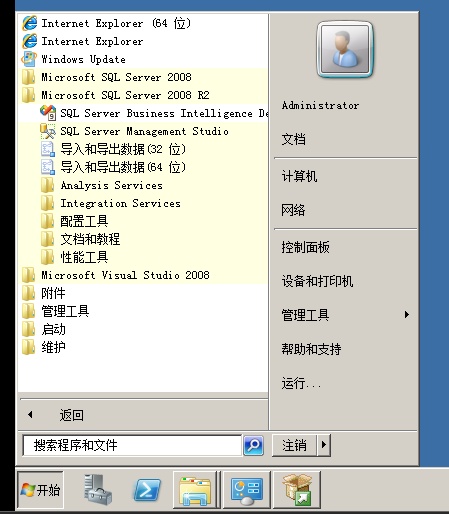
登录SQL Server
在开始菜单中找到SQL Server Management Studio并打开
Windows身份验证
此身份验证模式只需在服务器名称处输入英文模式下的点 .
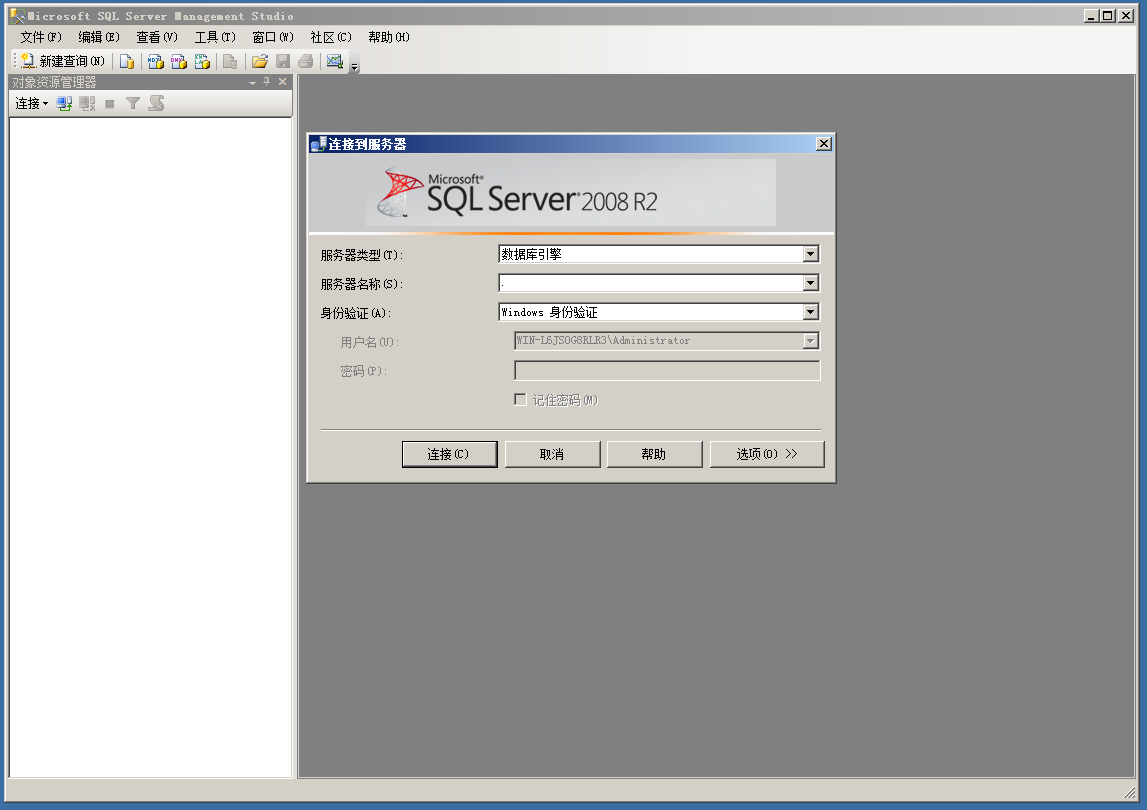
SQL Server 身份验证
此身份验证模式需在服务器名称处输入英文模式下的点 .
登录名输入sa
密码为你安装时设置的密码